
✅ The ability to pinpoint issues during construction on a map, communicate until they are resolved, and manage them by logging them as data.
▎Activating an issue
① You can enable the Issues feature from the left menu checkbox.
② Active issues appear on the screen, with open issues in orange and completed issues in grey.
▎Identify and communicate issues
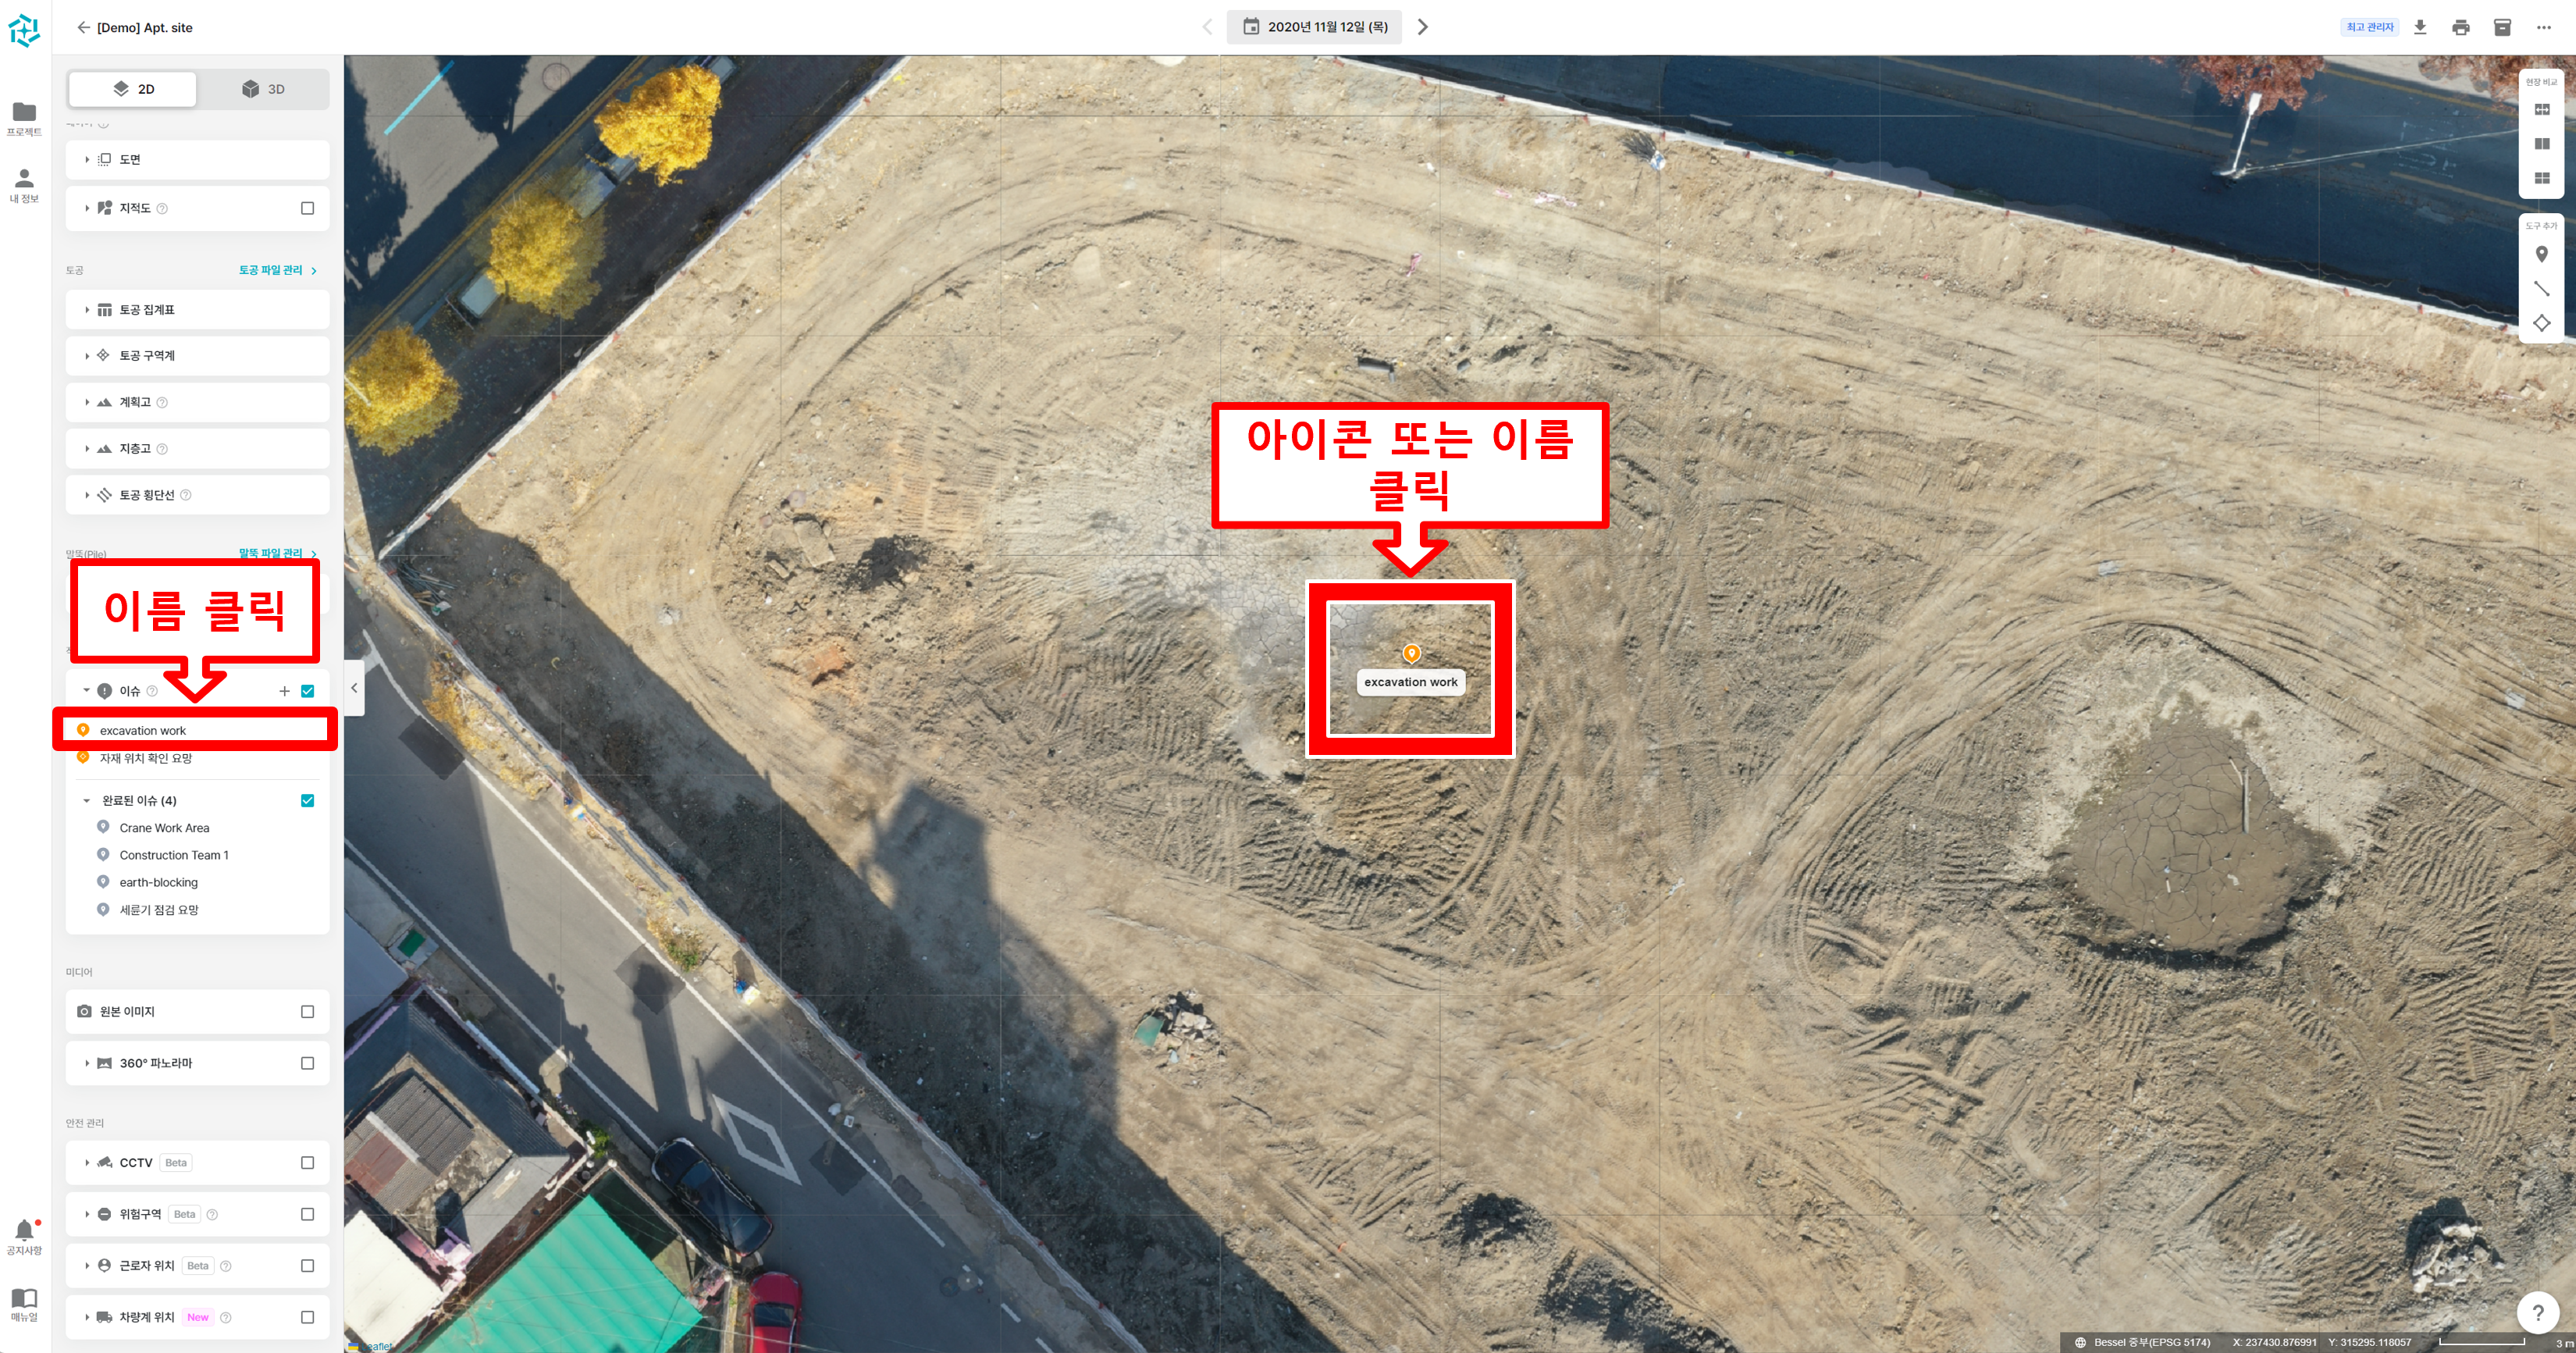 1. Clicking an issue's name or icon will take you to the issue's detail page for more information.
2. On the detail view page of the selected issue, you can take advantage of the sharing and communication features.
① You can see the issue's progress and use the share, edit, and delete features.
② You'll see the name, photo, and description you specified when you created the issue.
③ You can have a dialogue with the relevant people in the form of comments, and you can see when each comment was made, who made it, and how it's progressing.
▎Adding an issue
1. Click the + button to select Add Area or Add Location
2. Specify the location of the issue and write a name and description.
① On the screen, specify the location or area where you want to register the issue.
② Enter an issue name.
③ Set the progress status.
④ If you need a representative image, attach one.
⑤ If you need to explain the issue, write a description.
⑥ When you're done filling in all the fields, press Save to complete the issue creation.
▎Fixing and deleting issues
① When you access the detail page of the issue you want to edit or delete, you'll see the Edit and Delete buttons in the top left corner. Click the pen button to edit, or the trash can button to delete.
② You can edit the name and progress of the issue.
③ When you hover over a representative image, a Delete button appears. After deleting the image, you can register a new image.
④ You can edit the issue's detailed description.
⑤ When all edits are complete, press Save to finish editing the issue.